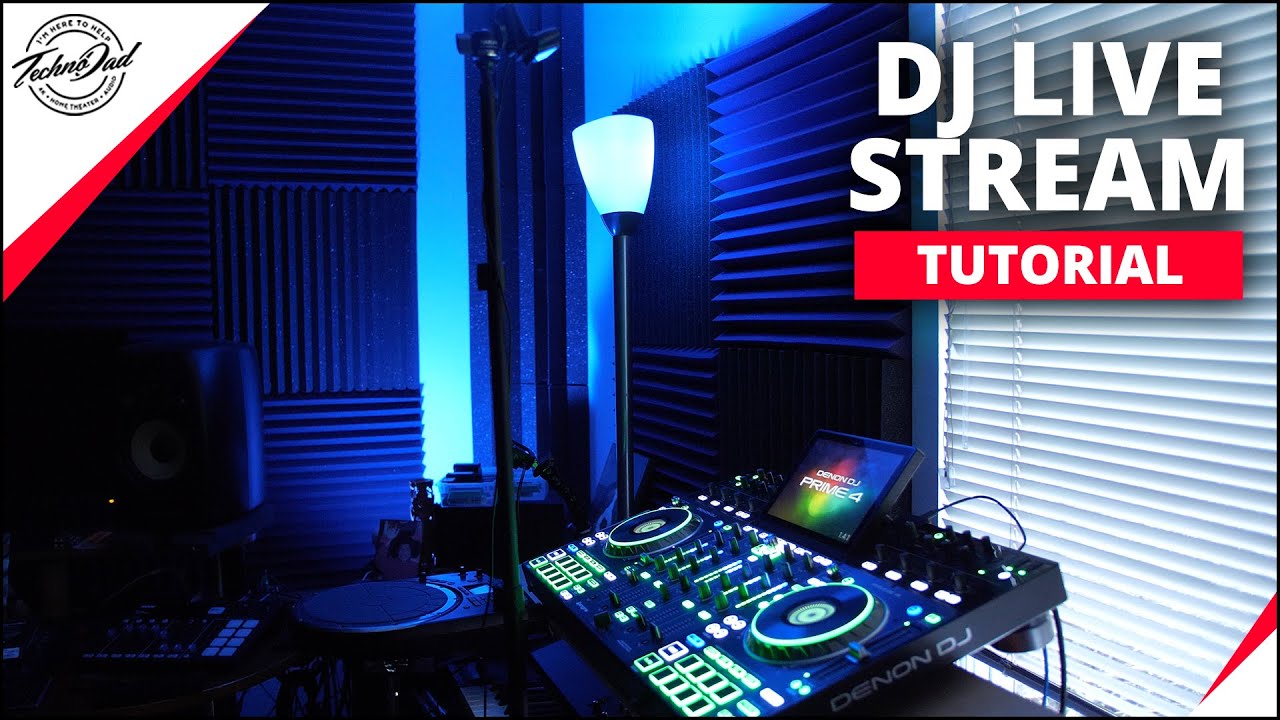
A DJ stream can sound perfect in your headphones and still fail the moment viewers arrive: a muted source, a dead camera, clipped mic, frozen overlay, or a network upload that collapses under pressure. Grooveline is built for DJs, but the same rule applies to every broadcast: reliability is part of the performance.
Use this 12-point DJ stream preflight before you go live in OBS, vMix, or a hardware-switcher workflow. Run it once while setting up, then again just before pressing the red button. The goal is not studio perfection; it is removing the boring failures that make a great set look amateur.
The 12-point DJ stream preflight
1. Power and temperature
Plug the computer, displays, cameras, audio interface, and network gear into mains power. Do not trust a laptop battery for a long set. Close game launchers, cloud-sync jobs, browser tabs, and system updates. In OBS, open the Stats dock and leave it visible; a rising rendering or encoding time is an early warning, not a post-stream mystery.
2. Lock the broadcast profile
Open the exact scene collection and output profile you intend to use. Confirm the destination, canvas size, frame rate, encoder, and bitrate. A common last-minute disaster is loading a vertical profile for a horizontal show, or sending a test stream to the public channel. Name profiles plainly: LIVE — 16:9 — 1080p beats “Profile 4.”
3. Confirm the main audio path
Play a track and watch the OBS meter. The feed should come from the DJ mixer's master or booth output, not the headphone cue. Check left and right channels, then speak into the microphone if you use one. Peaks should have headroom; a limiter can catch surprises, but it cannot repair a permanently crushed signal.
4. Check voice separately
Mute the music briefly and test the mic at the distance you will actually use. Make sure the correct input is selected, phantom power is appropriate for the microphone, and a noise gate is not chopping the first syllable of every announcement. Put mic processing on its own source so you can lower speech without changing the music bus.
5. Frame the performance
Look at every camera source in the live scene, not only the preview scene. The DJ, active deck, mixer, and hands should be visible. Remove empty ceiling and wall space. Lock exposure and white balance where possible so bright LEDs do not make the image pulse. If you use an ATEM, press each input and confirm that the correct angle appears; our ATEM Mini guide covers the signal flow.
6. Check focus, lights, and overlays
Move in front of the camera and confirm focus follows you. Turn the practical lights on, but make sure the key light still shows your face. Read the DJ name, now-playing text, and live badge at the size a phone viewer will see them. Keep graphics inside a safe margin; platforms may cover the edges with comments and controls. The lower-thirds and overlays guide has useful layout rules.
7. Make a private test recording
Record 60 seconds with music, microphone, camera movement, and one scene change. Watch it back with headphones and on a phone. Listen for a delayed voice, a hollow mono signal, clicks, or a camera that freezes when the encoder gets busy. A test recording is faster than debugging a public set while your chat fills with “audio?”
8. Verify sync after the computer warms up
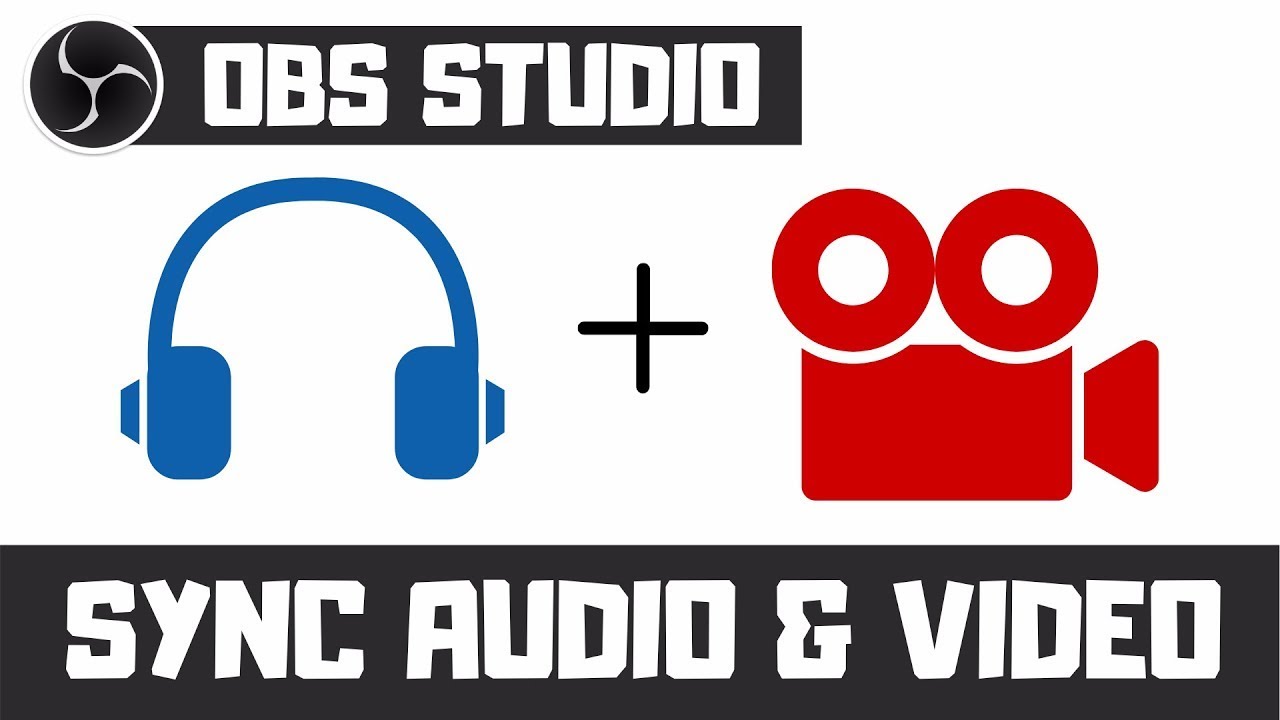
Do not check sync only in the first ten seconds. Let the test run long enough for the computer and camera to settle. Clap once on camera or tap the mixer visibly, then compare the movement with the transient in the recording. If video is late, use a measured sync offset on the audio source. Do not randomly add filters until the error “feels better.”
9. Test the upload, not just the download
Streaming is an upload job. Pause backups and large uploads, then watch the OBS dropped-frame counter during a one-minute test. Leave margin below your advertised upload speed; Wi-Fi congestion, other household traffic, and platform overhead all consume headroom. If the connection is marginal, lower resolution or bitrate before the show rather than gambling on a beautiful but unstable output.
10. Check scenes and emergency states
Click through the countdown, live, break, camera-only, and end scenes. Confirm every transition lands on the intended layout. Then prepare a “technical difficulties” scene with a clear message and a clean music bed or mute state. If a camera dies, you need one button that keeps the show moving while you troubleshoot.
11. Prepare the human side
Put the show title, start time, and listening link in a note you can paste quickly. Tell viewers what kind of set they are joining and when the next change happens. Keep water nearby, silence phone notifications, and decide who can answer urgent messages. A polished broadcast is also a calm operator behind the decks.
12. Do the final 30-second lock
Thirty seconds before going live, stop changing things. Confirm the correct destination, unmute the master, start the recording if you need an archive, and check that the status indicator says live. Look at the program output rather than the preview. Once the first track is running, make one deliberate scene change and verify that the audience-facing image and audio remain stable.
What to do when a check fails
Fix the smallest link in the chain first. If the audio is wrong, bypass decorative filters and return to the mixer output. If video stutters, remove browser sources and animated overlays before lowering everything. If the upload drops frames, reduce bitrate or resolution and test again. Change one variable at a time, record the result, and keep the working profile untouched as your rollback.
A dependable 720p set with clean audio beats a spectacular 1080p production that disappears every thirty seconds.
After the show, write down what failed while you still remember it. Turn that note into a permanent fix: a labelled cable, a saved scene, a backup camera angle, or a new line on this checklist. The best preflight is the one that gets shorter because your system gets better.
FAQ
How long should a DJ stream preflight take?
Once your scenes and inputs are labelled, five minutes is realistic. The first few runs may take fifteen minutes because you are discovering the weak links. Do the longer test before an important show, not during the countdown.
Should I stream at the highest bitrate my connection allows?
No. Leave upload headroom for normal fluctuations and other devices. A stable preset that survives the entire set is more valuable than a peak bitrate that collapses when the network gets busy.
Do I need separate audio and video operators?
Not for a one-DJ setup. Label sources, simplify scenes, and create an emergency layout so you can keep mixing while solving a technical issue. Add a second operator when camera switching, replays, graphics, and audience interaction compete with the performance.
Sources & Further Reading
- OBS Studio Quick Start Guide — official guidance for scenes, sources, audio, recording, and streaming
- OBS Studio — Dropped Frames and Network Troubleshooting — explains network-related stream instability and practical fixes
- OBS Studio Advanced Recording Settings — reference for encoders, formats, and recording controls
- Blackmagic Design ATEM Mini Getting Started — official hardware switching and USB webcam workflow
- YouTube Live Encoder Settings — current resolution, bitrate, and keyframe guidance
Ready to put the checklist into practice? Grooveline gives DJs a free place to create a profile, book a slot, and share a live show with the community.